Understanding the Process of Professional Fence Installation
Installing a new fence around your property enhances its security and adds to its aesthetic appeal and overall value. Understanding the beginning-to-end process of professional fence installation is essential for homeowners considering this significant improvement. This guide aims to demystify the steps involved, ensuring you're well-informed from start to finish.
Selecting a Fencing Contractor
Selecting the right contractor is crucial for ensuring the success of your fencing project. An experienced and reputable professional will deliver high-quality workmanship and provide valuable guidance throughout the process. When choosing a contractor, it's important to conduct thorough research, examining their previous projects, reading customer reviews, and verifying their credentials and insurance coverage. Additionally, a reliable contractor should offer a clear and detailed estimate outlining all costs involved and the projected timeline for completion. This transparency and open communication are key indicators of a contractor's trustworthiness and commitment to customer satisfaction.
Initial Consultation and Planning
The first step in the fence installation process is the initial consultation. This is when you'll discuss your needs, preferences, and budget with a professional installer. They will offer advice on the materials best suited for your property, considering its terrain and the local climate. Additionally, they will check local zoning laws. It is your responsibility as the homeowner to contact your homeowners association (HOA) to ensure compliance with any fence specifications.
Obtaining Permits
Before any actual work can begin, we will obtain the necessary permits from your local city or county offices. Having the correct permits ensures that your fence installation adheres to all local building codes and regulations.
Preparation and Clearing
With all the paperwork in order, the next phase is preparing the site. This step includes clearing the fence line of any vegetation, debris, or existing fence structures that are no longer needed. The goal is to create a clean and accessible workspace for the installation team, allowing them to work efficiently and safely.
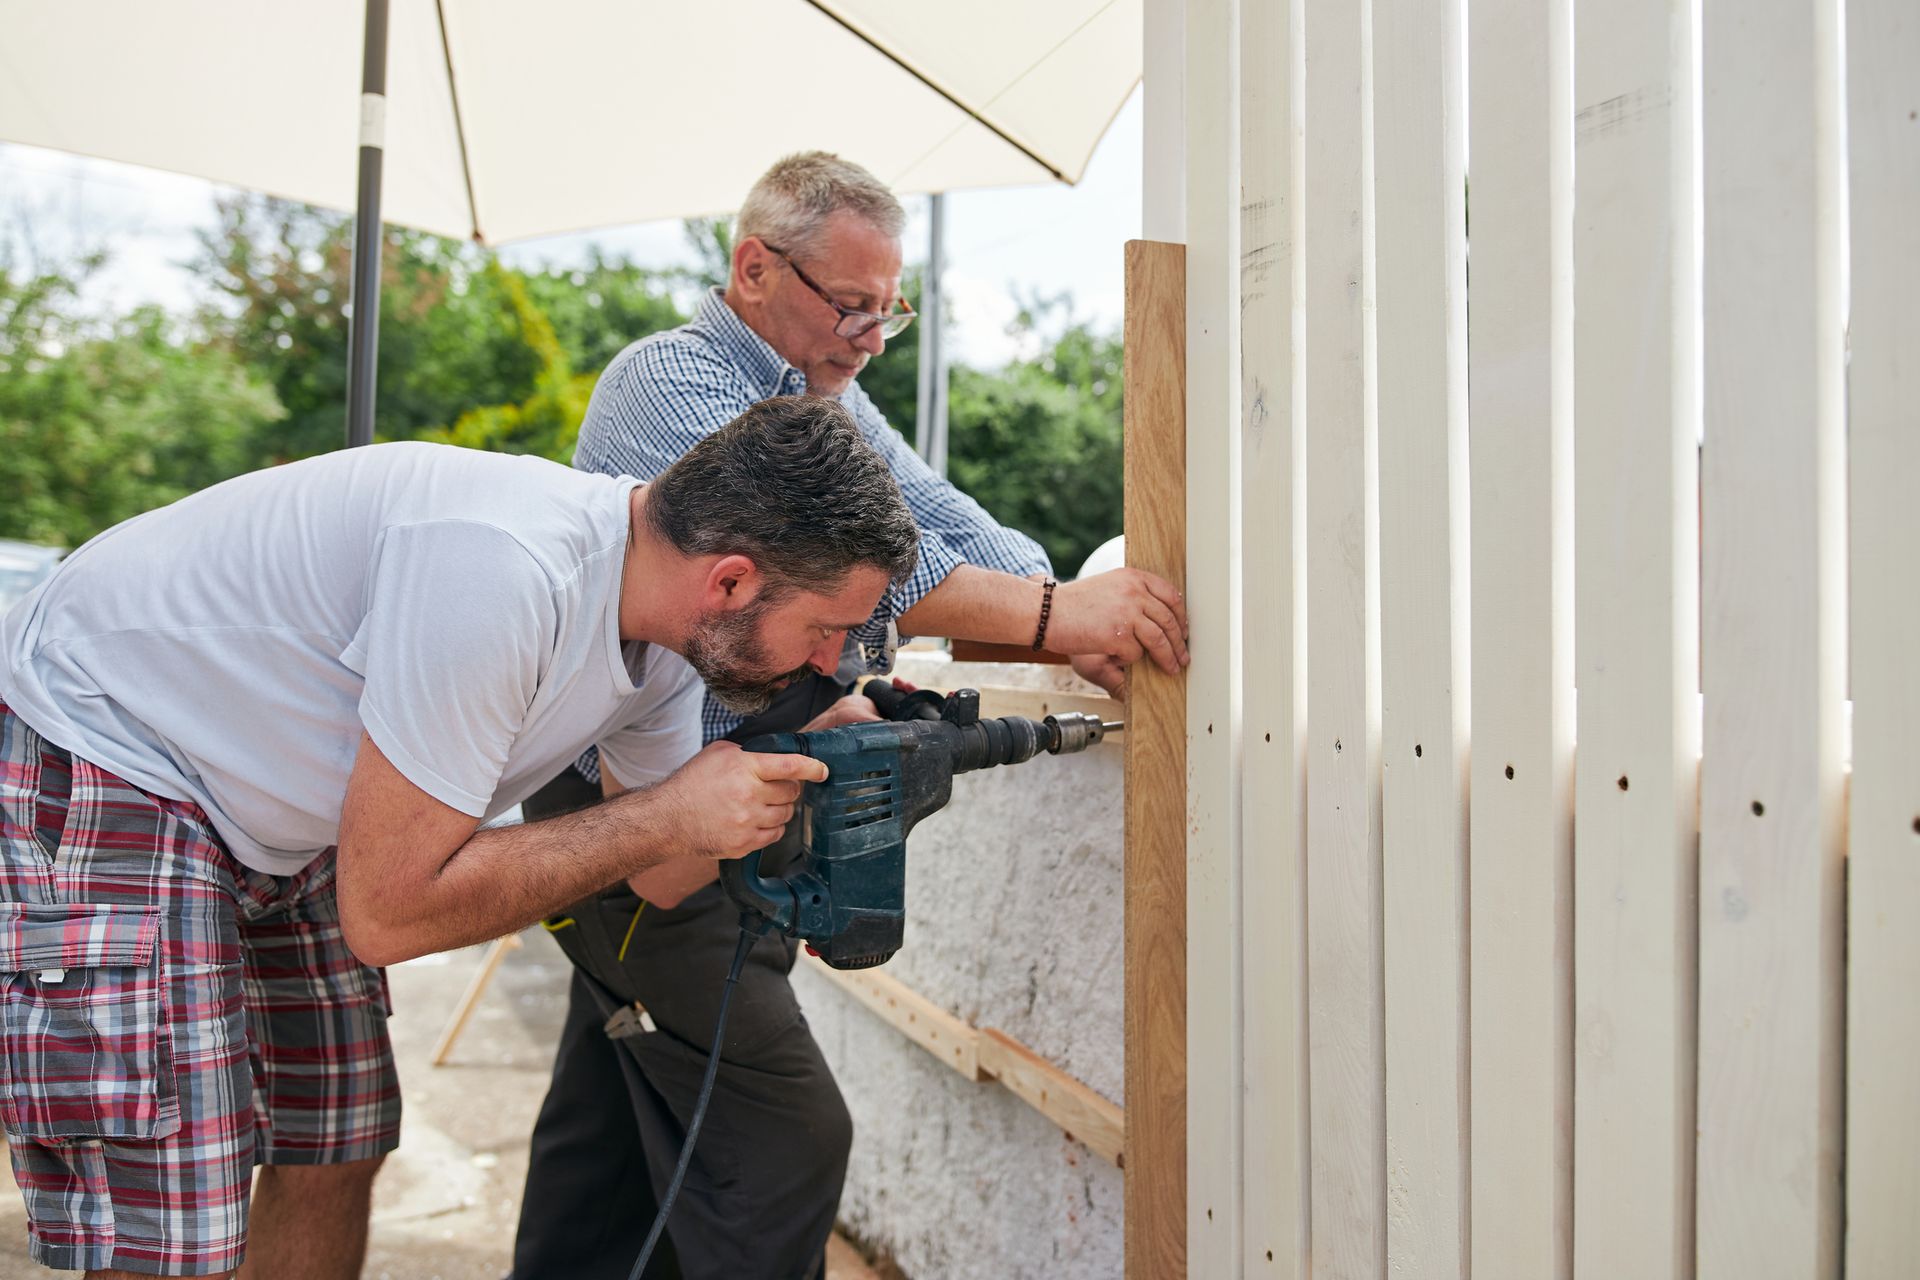
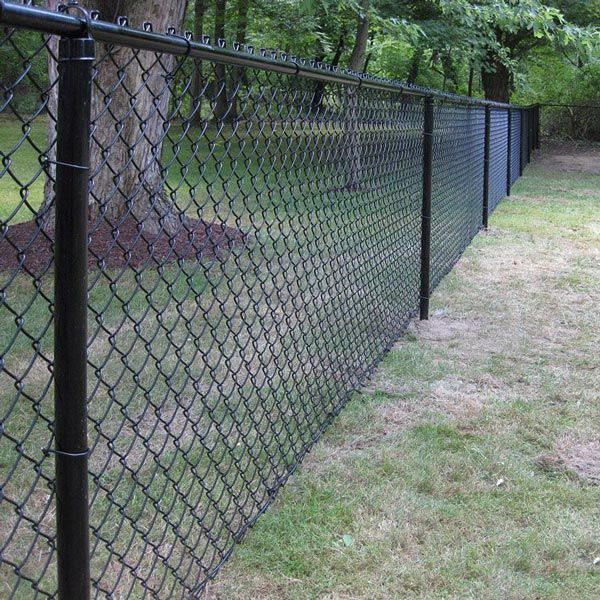
Setting the Posts
The foundation of any good fence is the posts, and their installation is a critical part of the process. Posts must be set deep enough in the ground to support the fence structure, taking into account the local frost line to prevent shifting during freeze-thaw cycles. The installer will dig or drive post holes to ensuring they are straight, and aligned according to the planned layout of the fence.
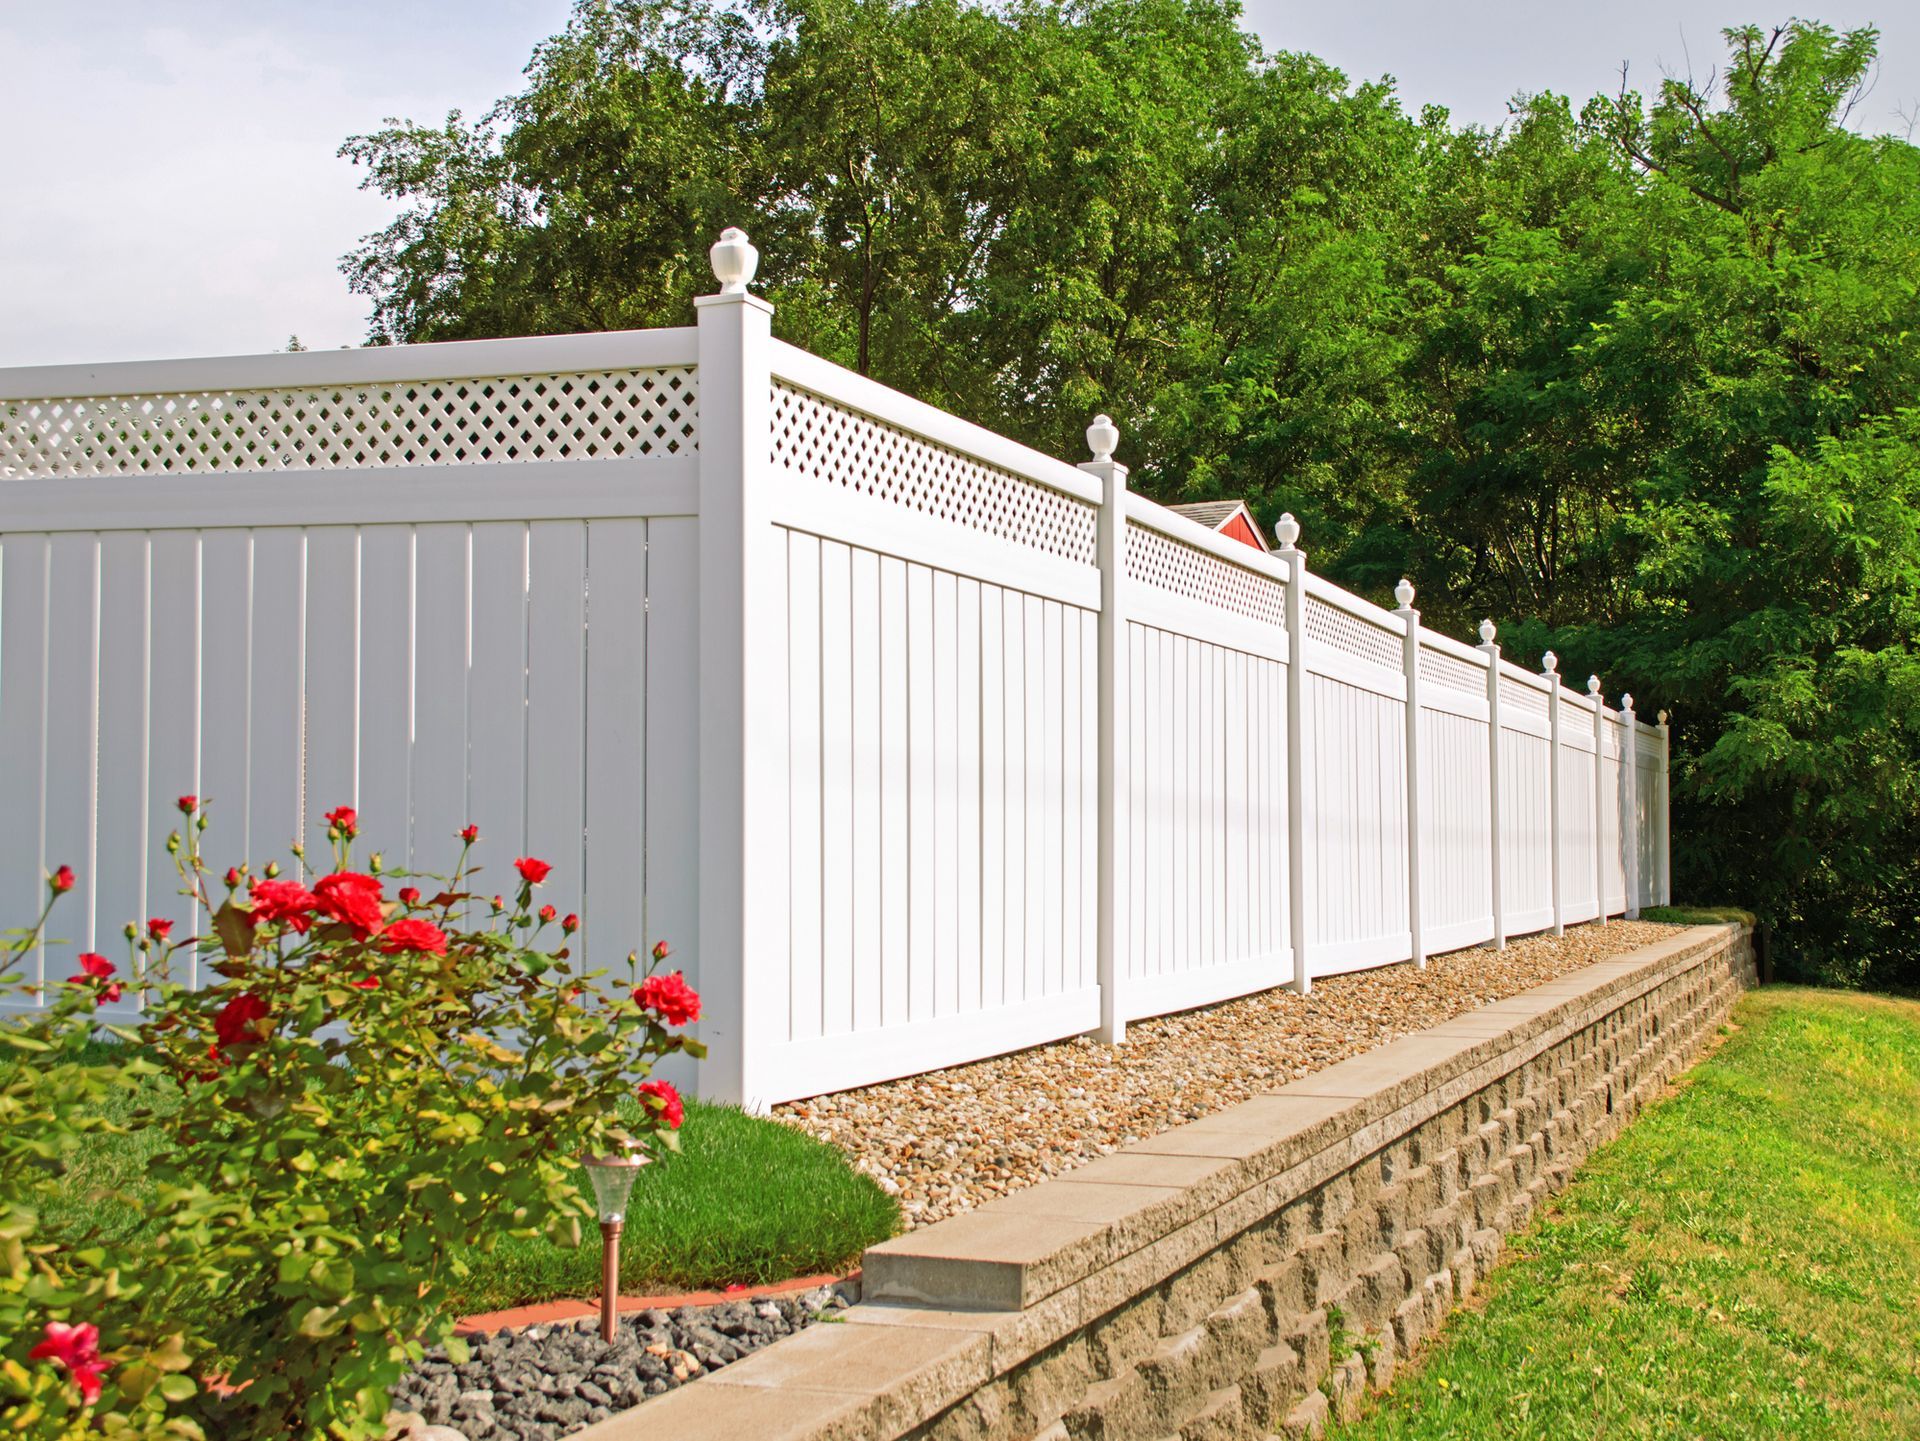
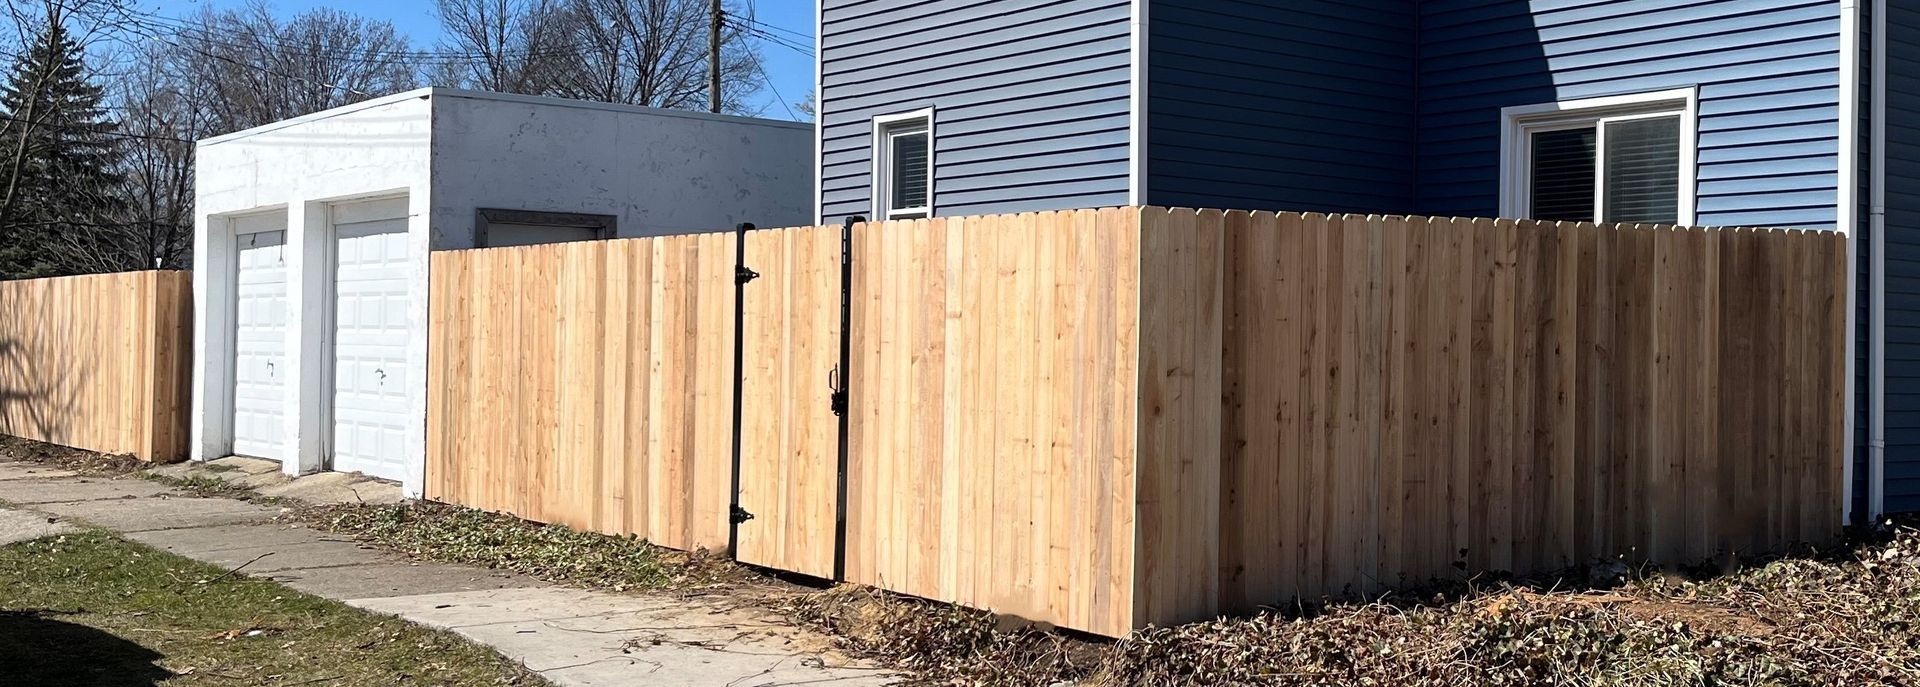
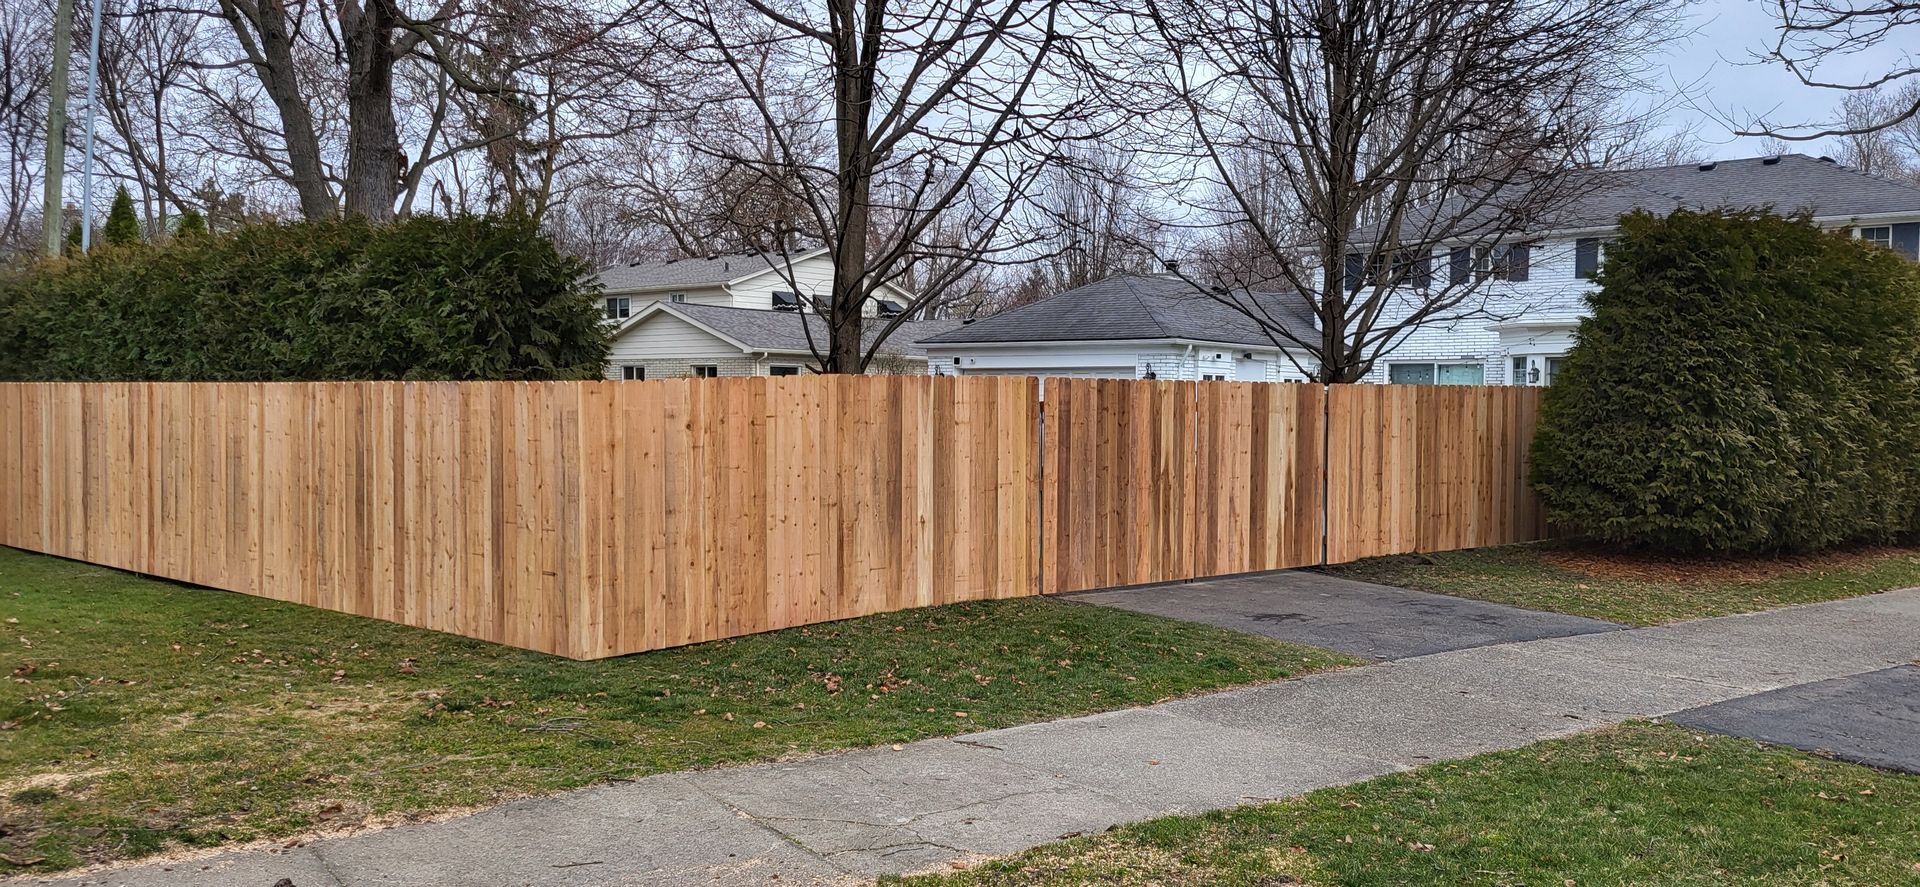
Attaching Rails and Panels
After the posts are securely in place and the concrete has been set, the next step is to attach the rails and panels. This is where your fence starts to visibly take shape. The rails are horizontal supports attached to the posts, and the panels or pickets are then affixed to the rails. Precision is key during this phase to maintain the fence's integrity and appearance.
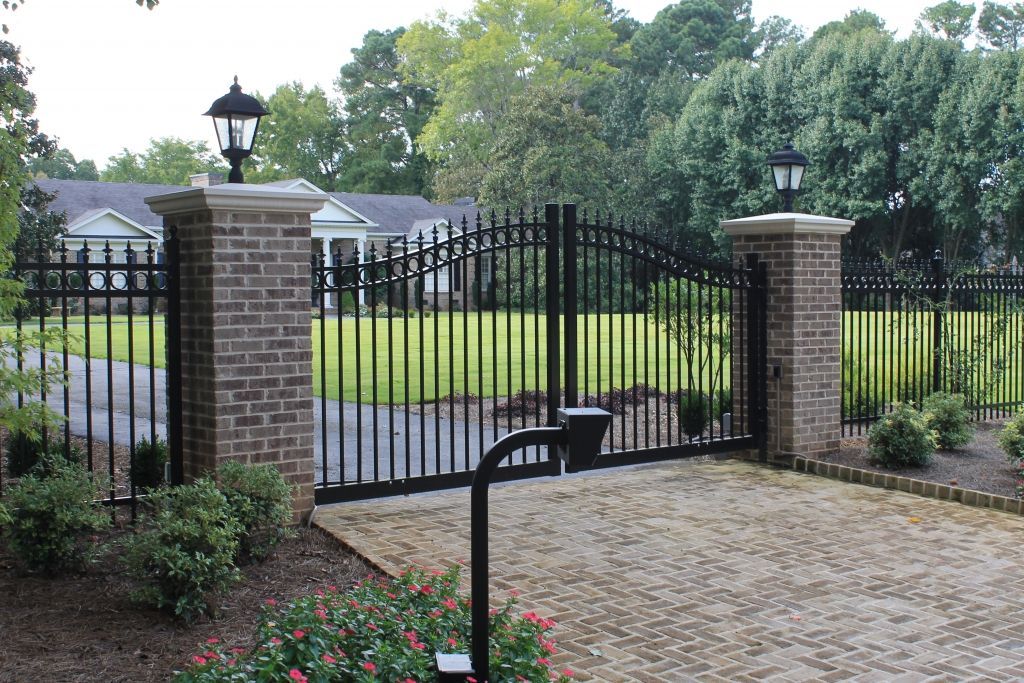
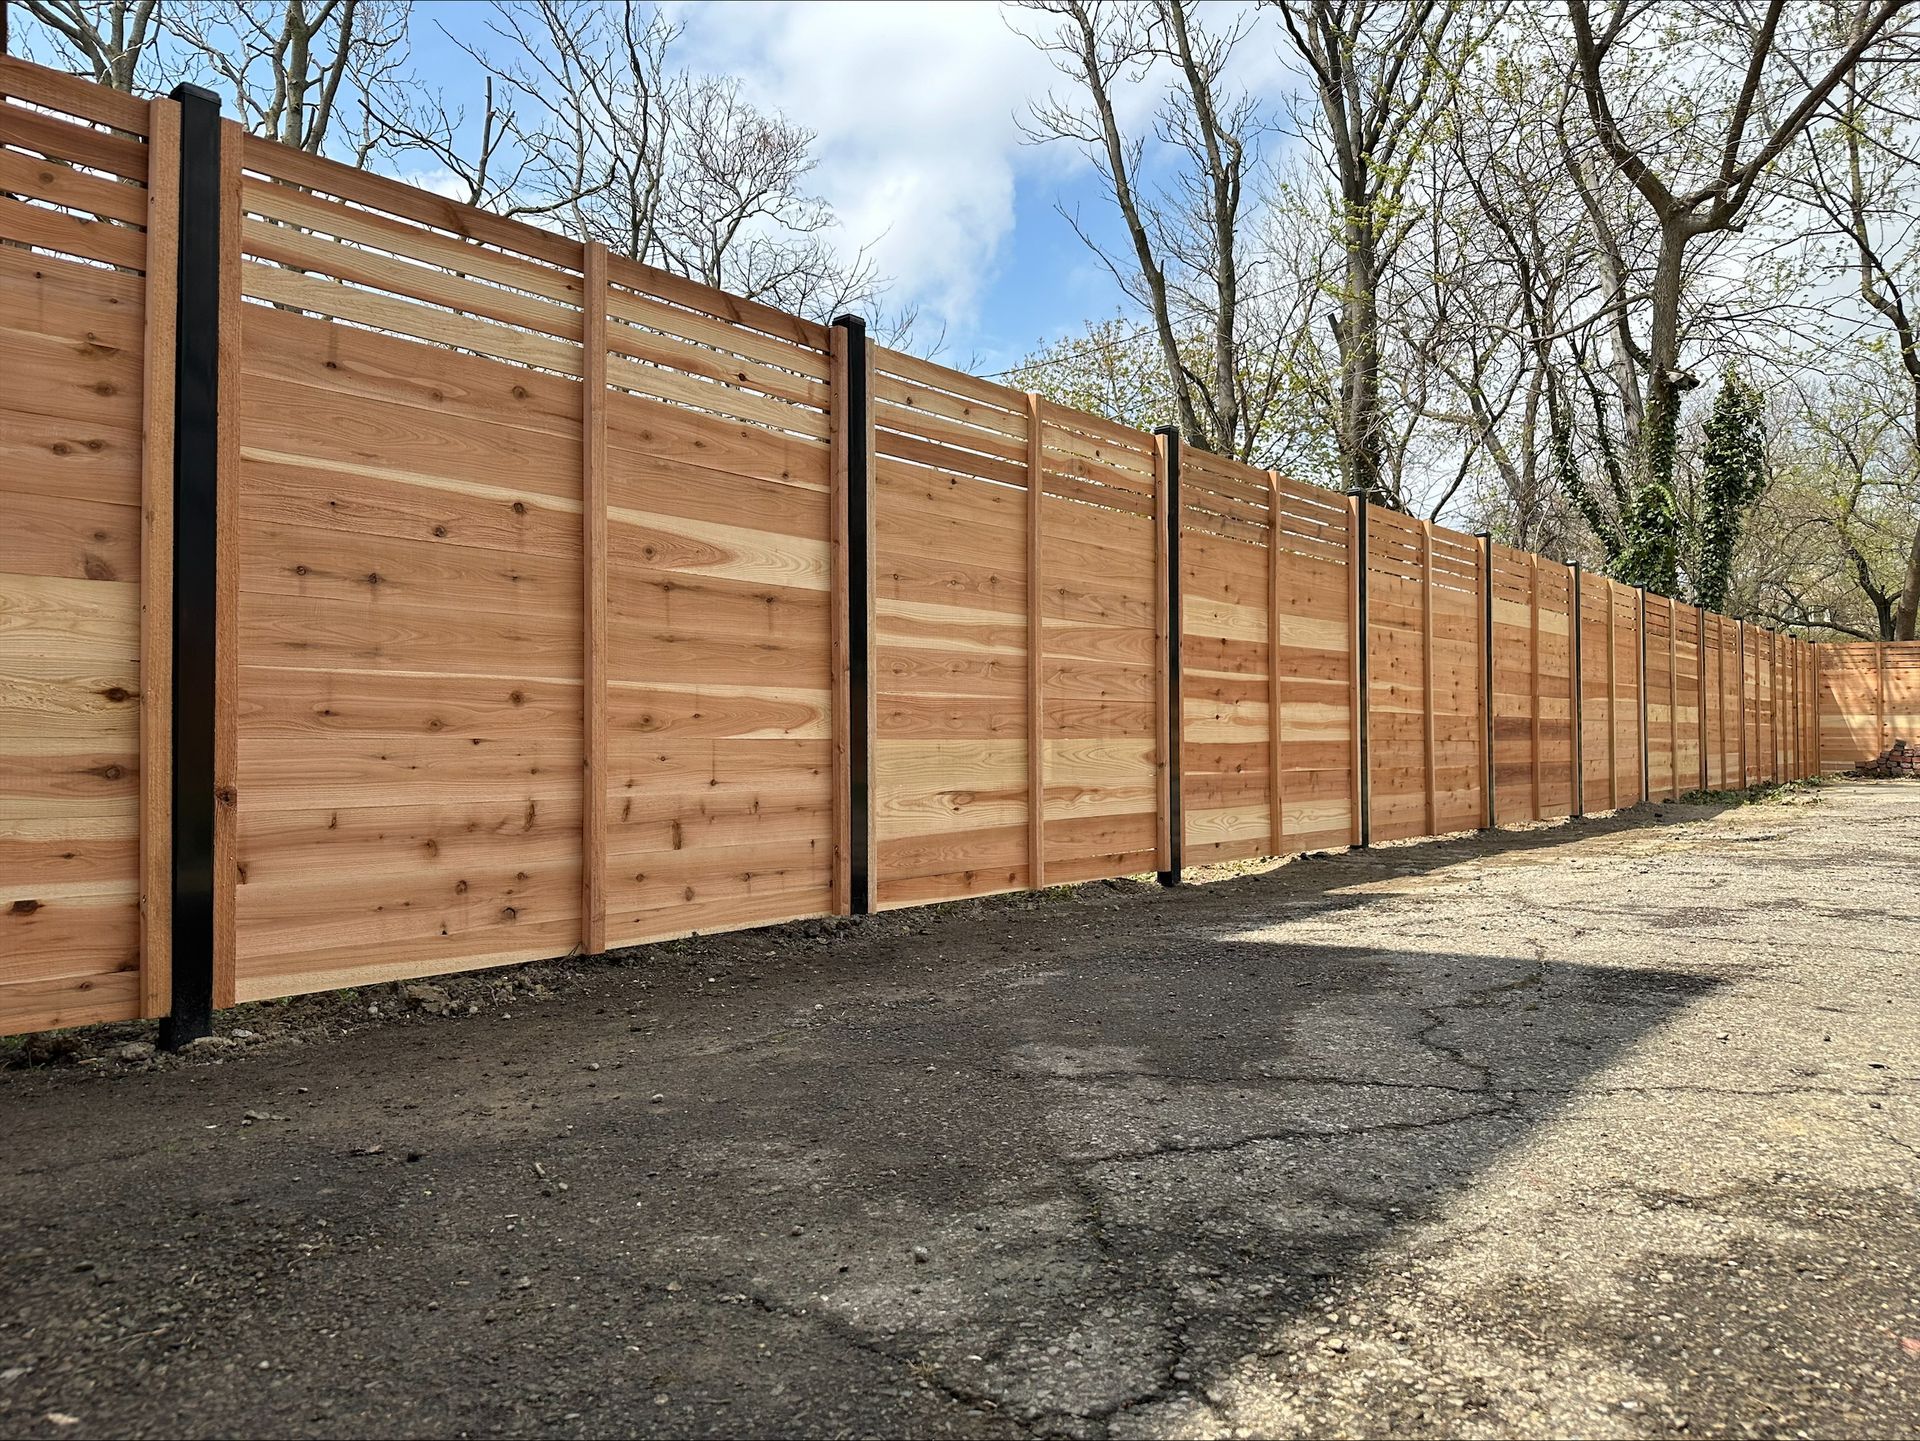
Finishing Touches
With the main structure of the fence installed, you and your fencing contractor can apply the final touches. This may include any decorative elements, gates, and hardware.
Cleanup and Final Inspection
Once installation is complete, the professional team will clean up the site, removing any waste materials and ensuring the area looks neat and tidy.
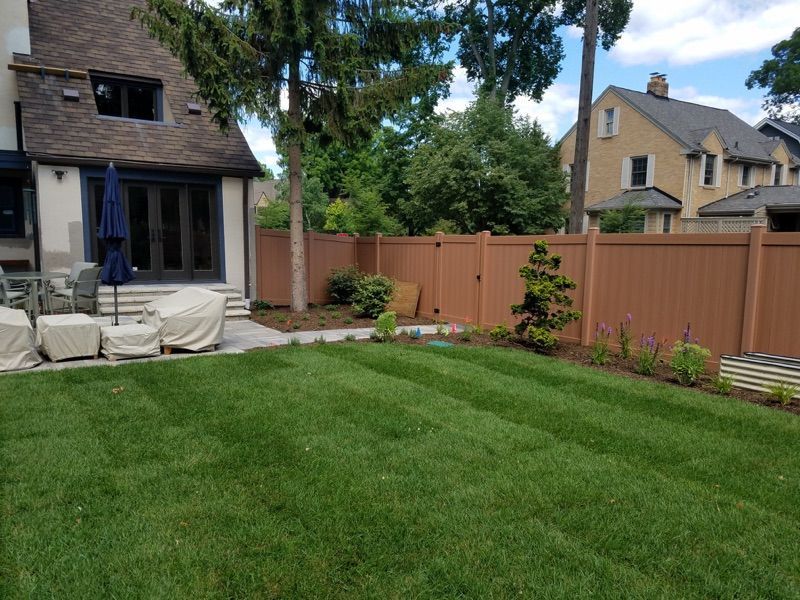
A professionally installed fence enhances your home's beauty and security and increases its value. By understanding the fence installation process — from planning and preparation to the final inspection — you can ensure a smooth and successful fence installation project. Remember, communication with your fence installation professional is key to achieving the desired outcome for your property. If you're installing a fence on your property, consider working with us at Kimberly Fence & Supply. Our experts can help you during every step of the fence installation process. Contact us today.